 "Luc - The Acadian Oppo" (luc5)
07/22/2016 at 09:06 • Filed to: FLAT TRACK XR650L, ORGAN DONOR
 5
5
 8
8|
"Luc - The Acadian Oppo" (luc5)
07/22/2016 at 09:06 • Filed to: FLAT TRACK XR650L, ORGAN DONOR | 5
| 8 |
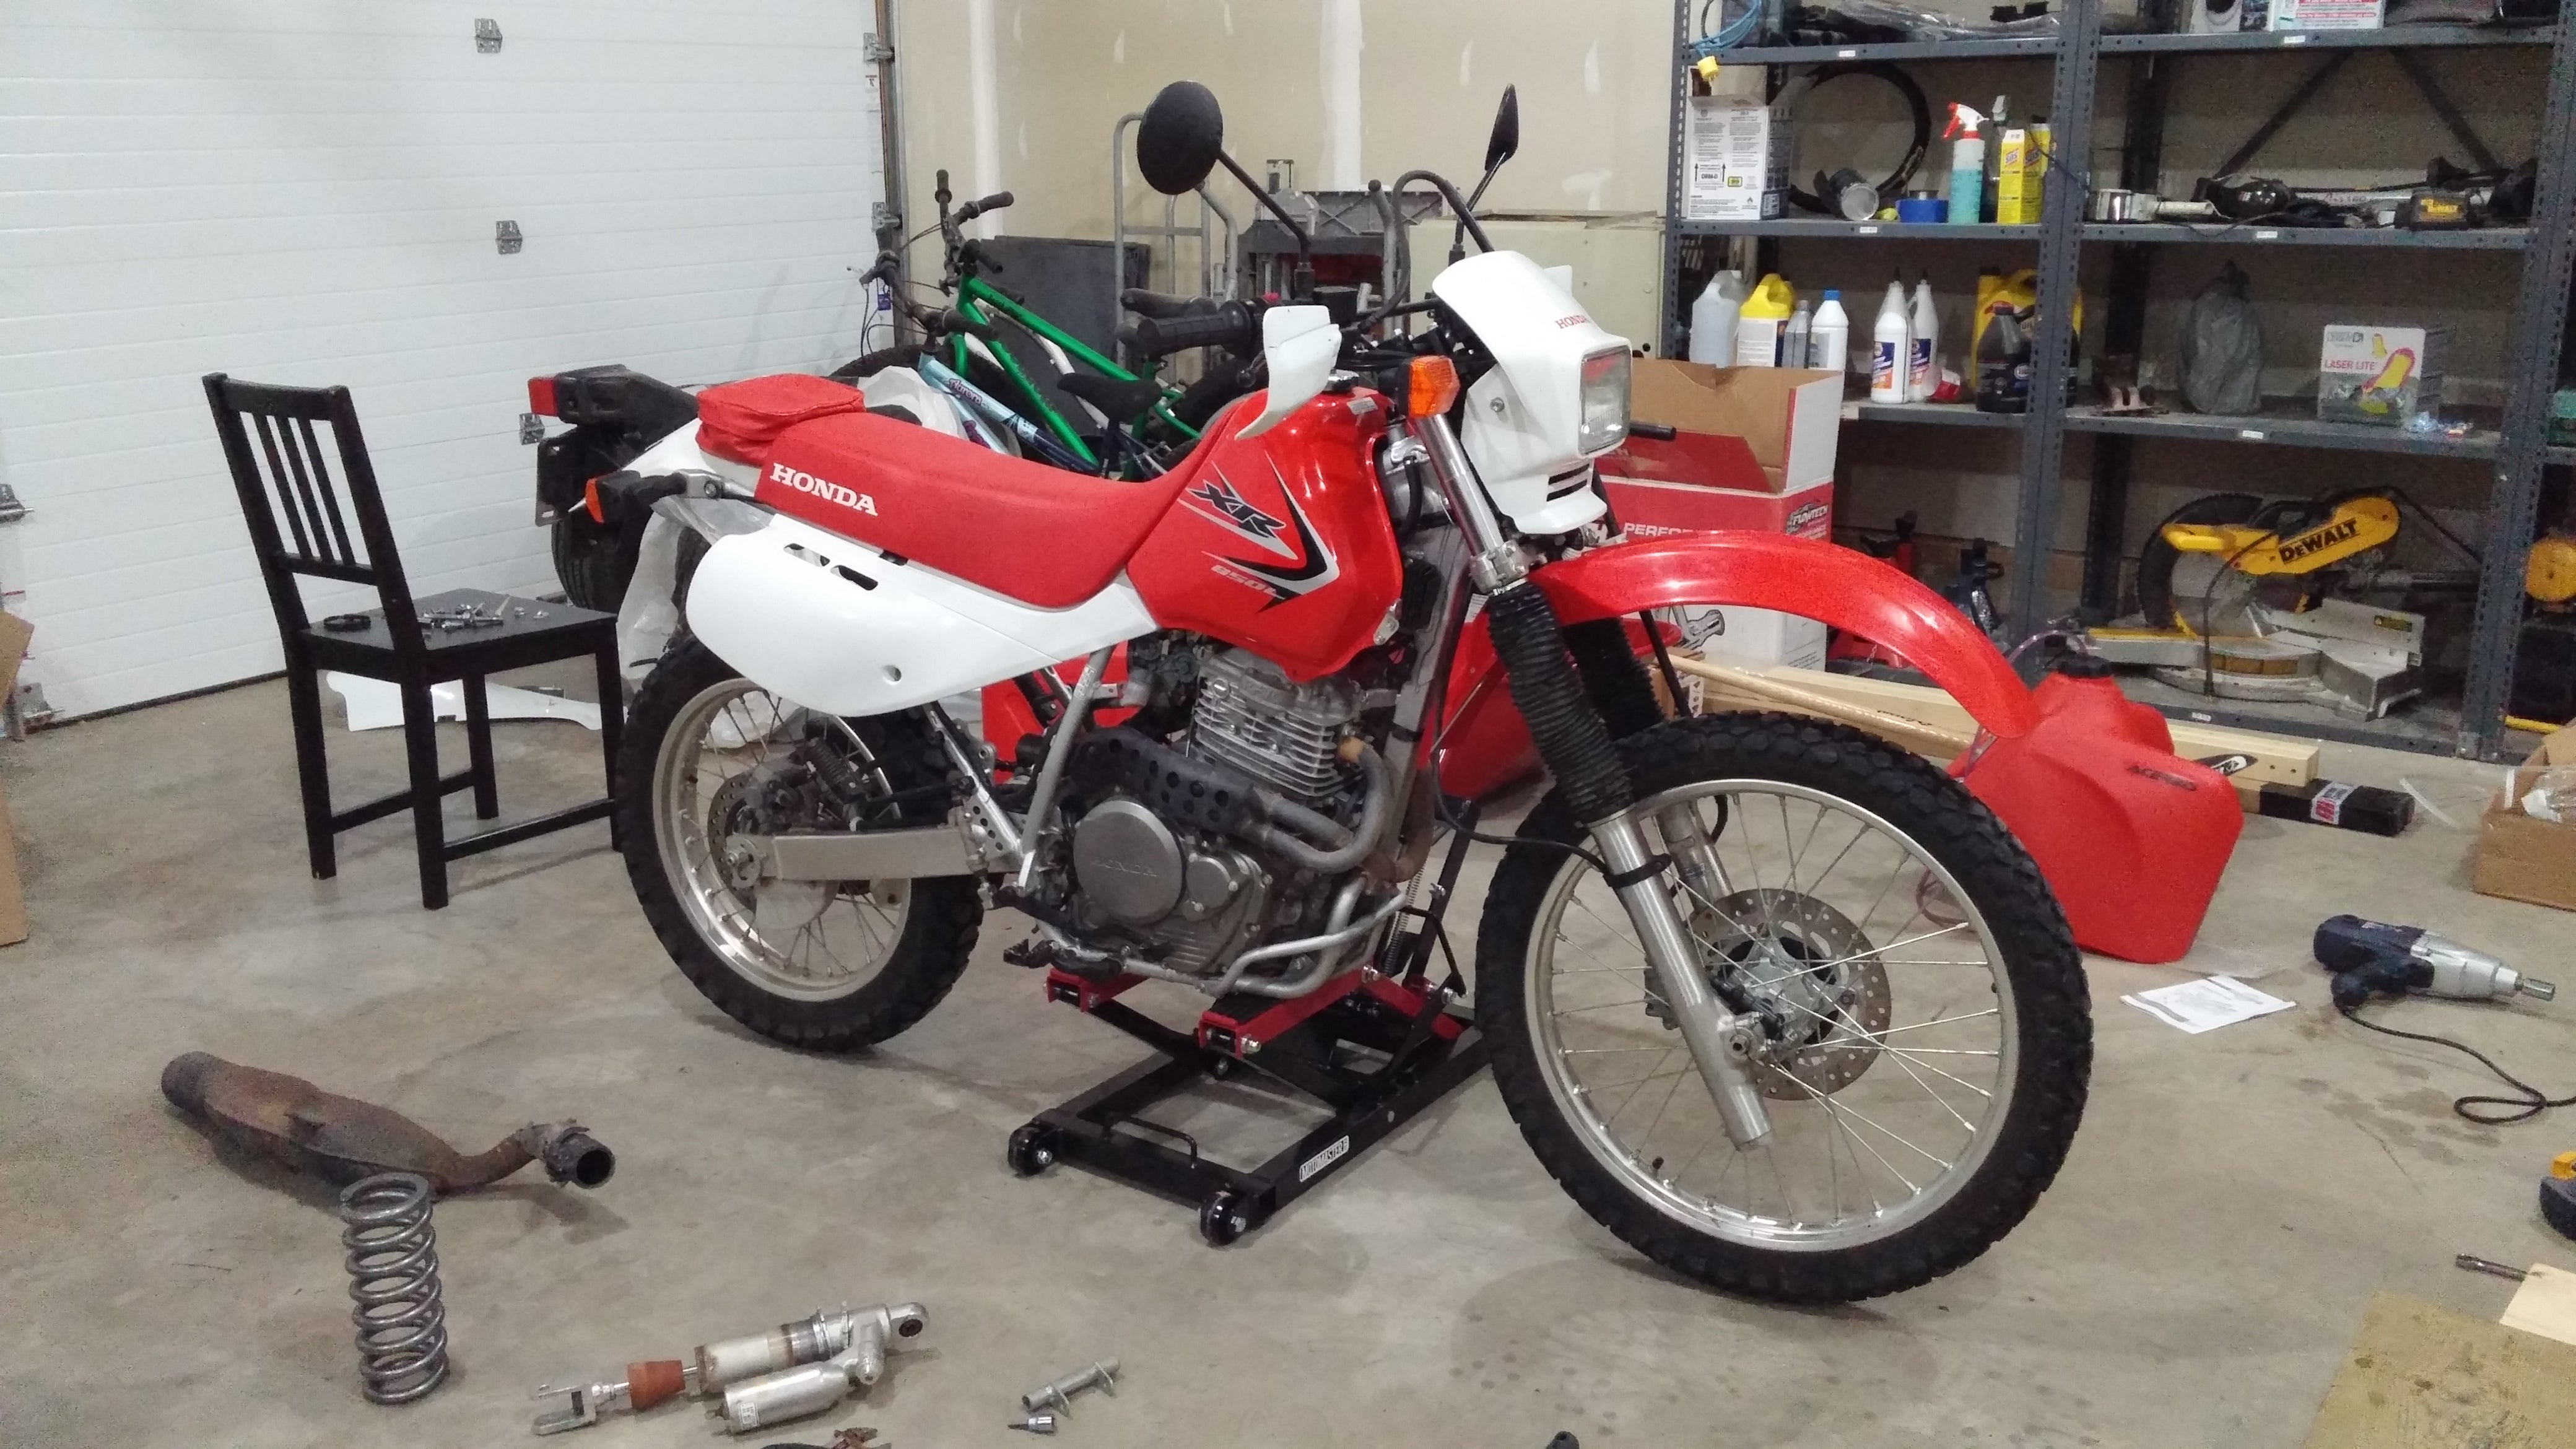
I’ve owned this bike for all of 24 hours and it’s already in pieces in the garage.
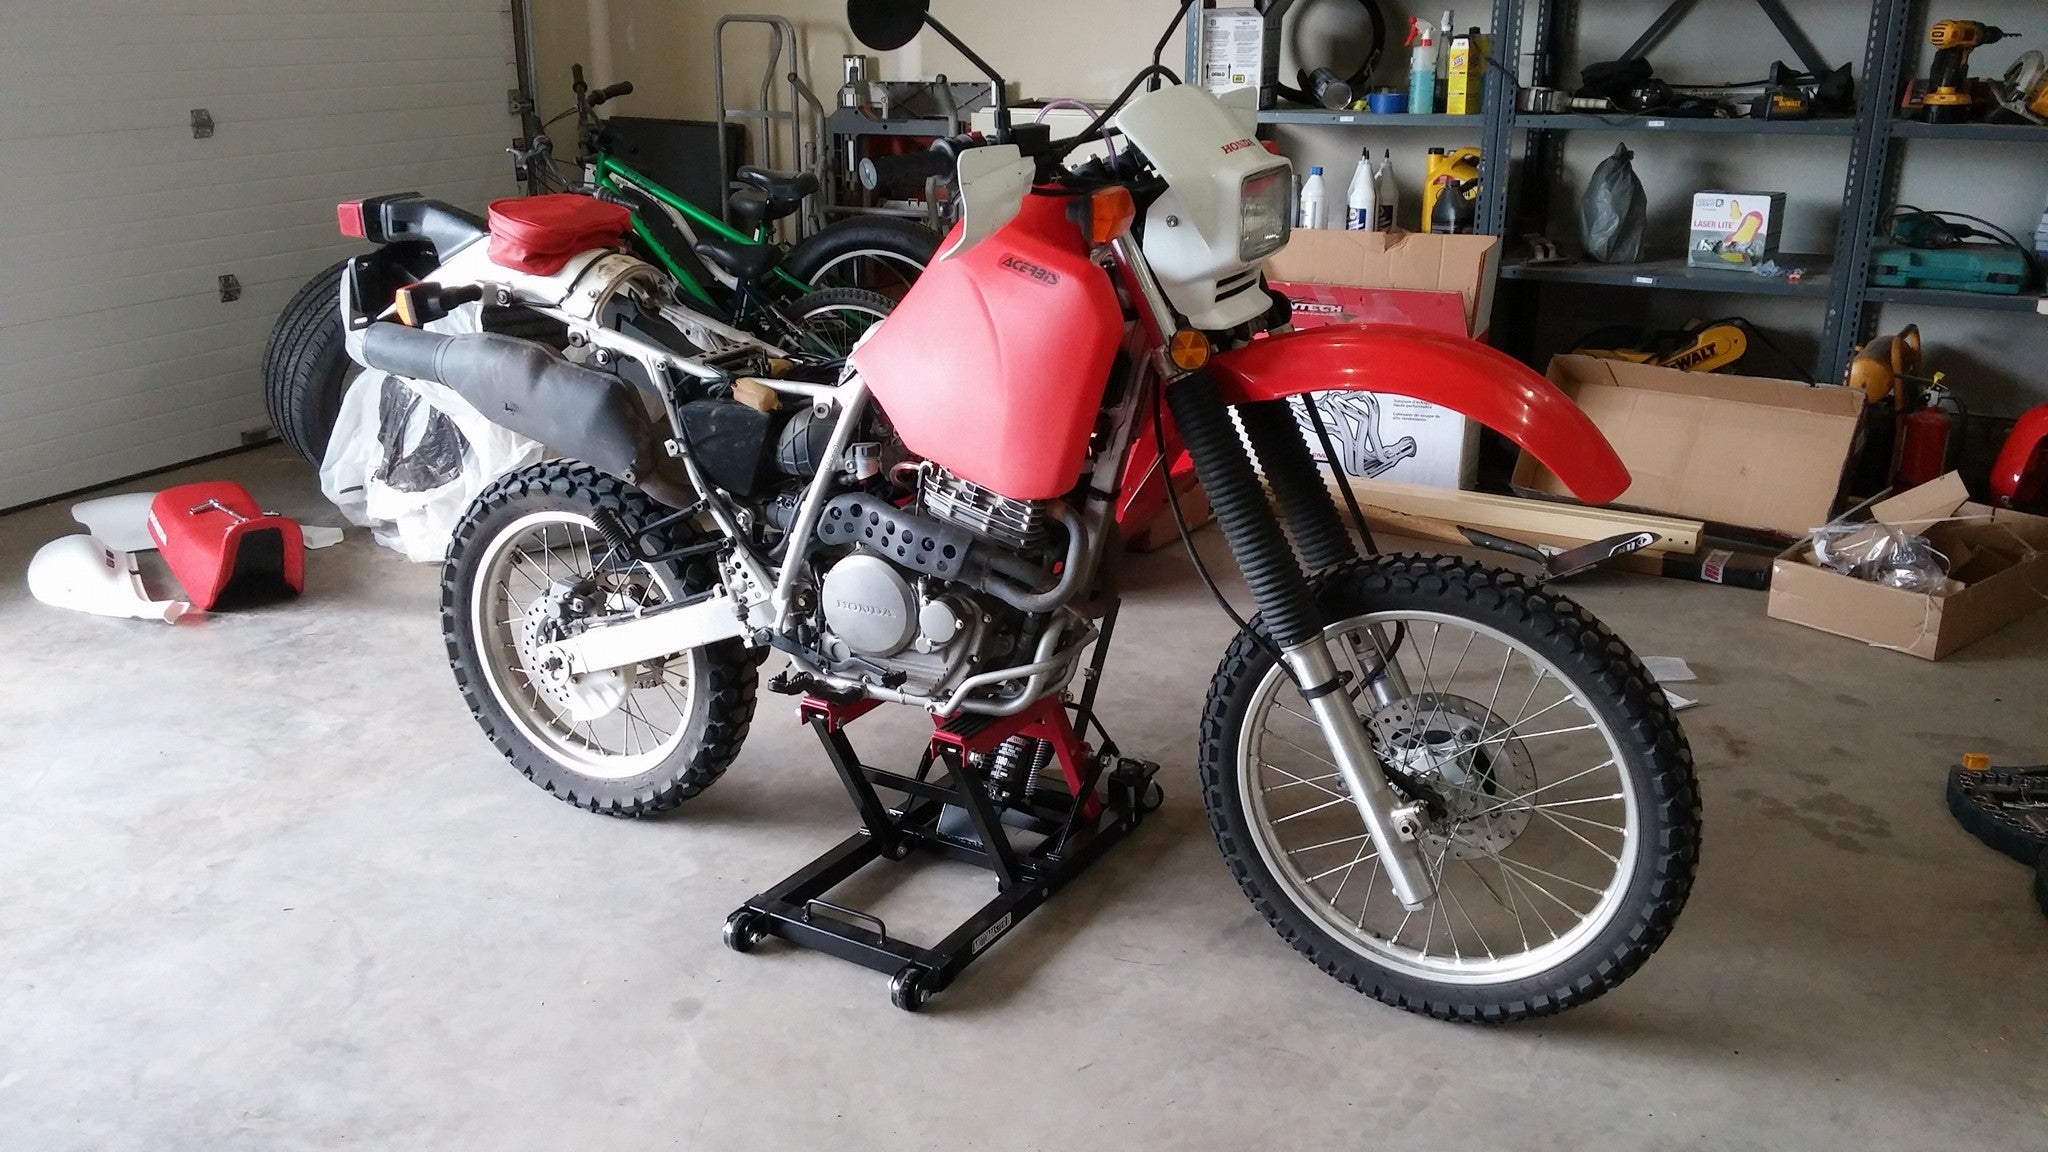
The first step of getting my flat track build on the go is to get the suspension sorted out. I will be shortening the forks by 4" and will be sliding the forks in the clamps another 0.5" for a total of 4.5" suspension drop. Once I get the front wheel re-laced with a 19" hoop it will give me another 0.5" drop for a grand total of 5" lower in the front.
First step is removing the forks.
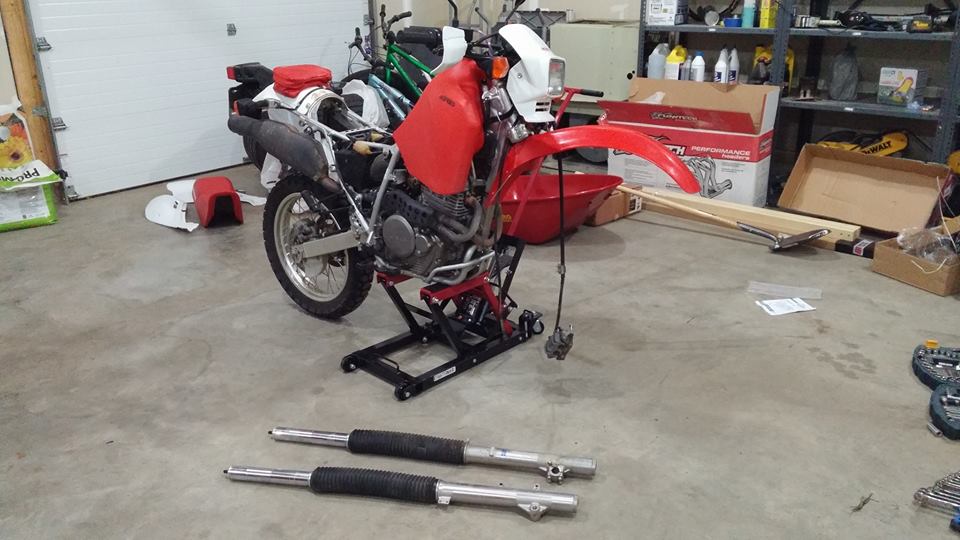
The beauty of this bike is just how freaking easy it is to work on. I had the forks out in less than 20 mins.
The next step is to disassemble the forks. This was also super easy it was a total of 3 bolts per side: 1: unscrewing the fork cap, 2: separating the fork cap from the damper rod, 3 unscrewing the damper cartridge from the fork body.
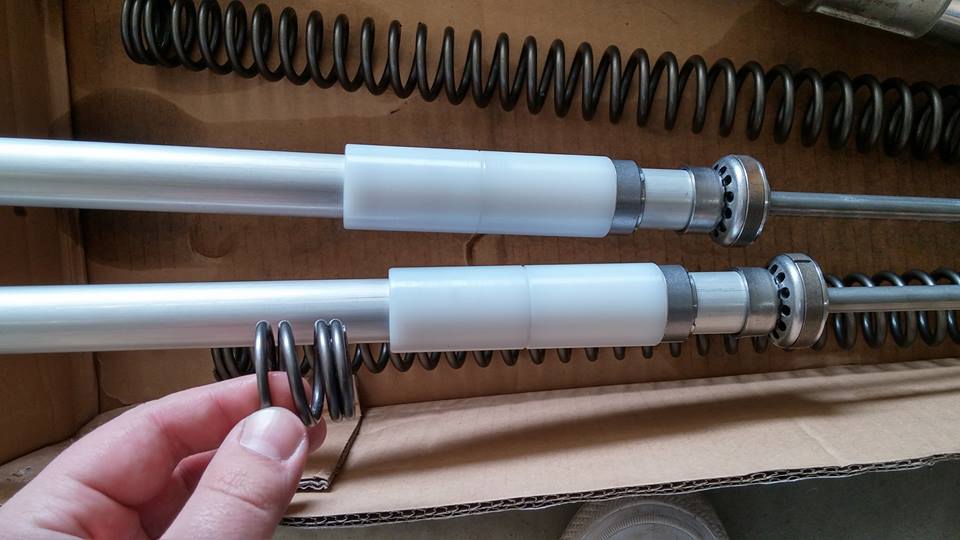
What is left is a box full of parts that look like this:
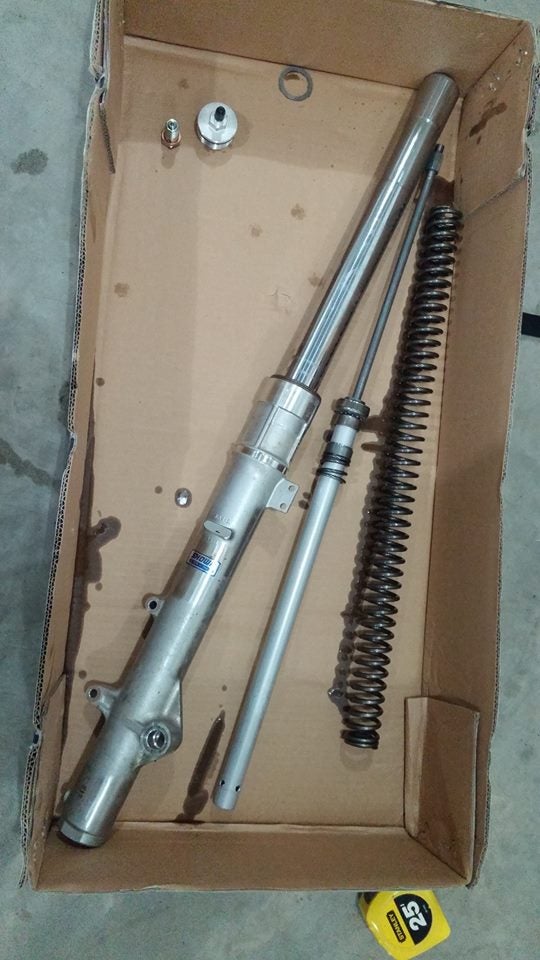
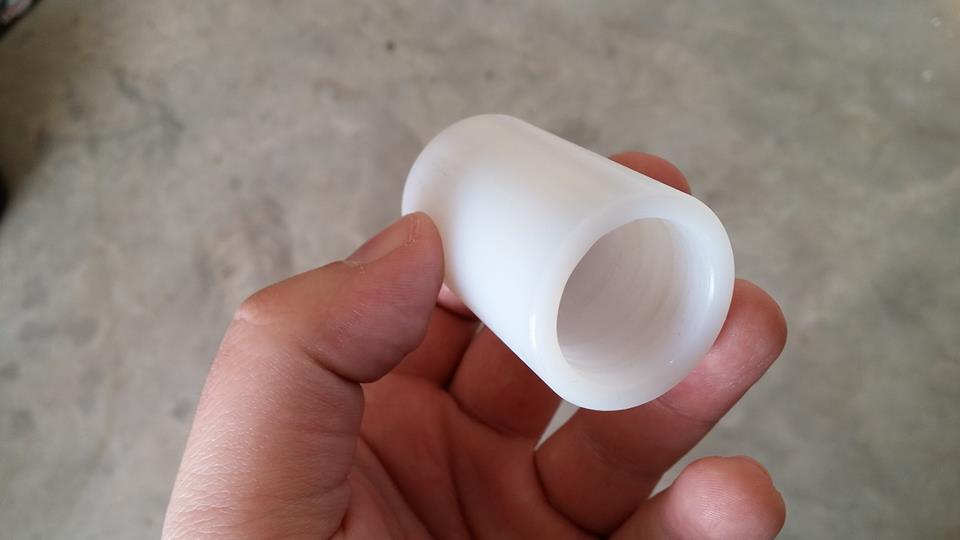
In order to properly shorten a fork you need to limit its total extension. In order to do that you need to install a spacer in between the top out spring and the top out spring retainer.
You can use just about anything to make the spacer since this is under no load and is only purpose is to occupy space. For this I called in a favor to my old boss at a plastic machining company. He spinned me up four UHMW bushings and made them mysteriously “disappear”. 24mm ID X 32mm OD X 51mm long. I will use 2 per side to achieve 102mm drop (4 inches)
Now that you have the spacers remove the top out springs(I forgot to take pictures of this) The top out spring is a little undersized so it is a press fit on the shaft. For this you will need to use some muscle to pull it off.
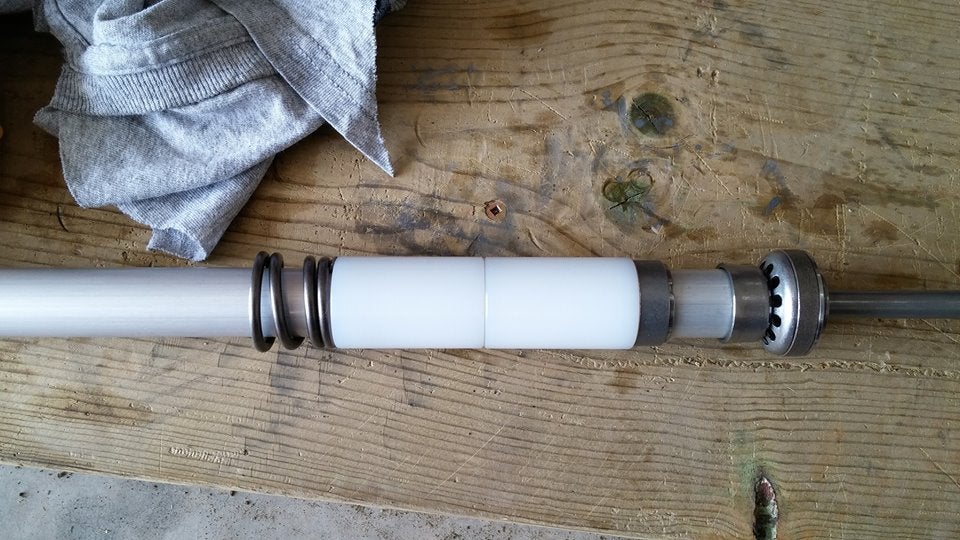
Now that the Top out spring is off just install your spacers.
Then slide the top out spring back on. I found it was much easier to put them back on then to take them off.
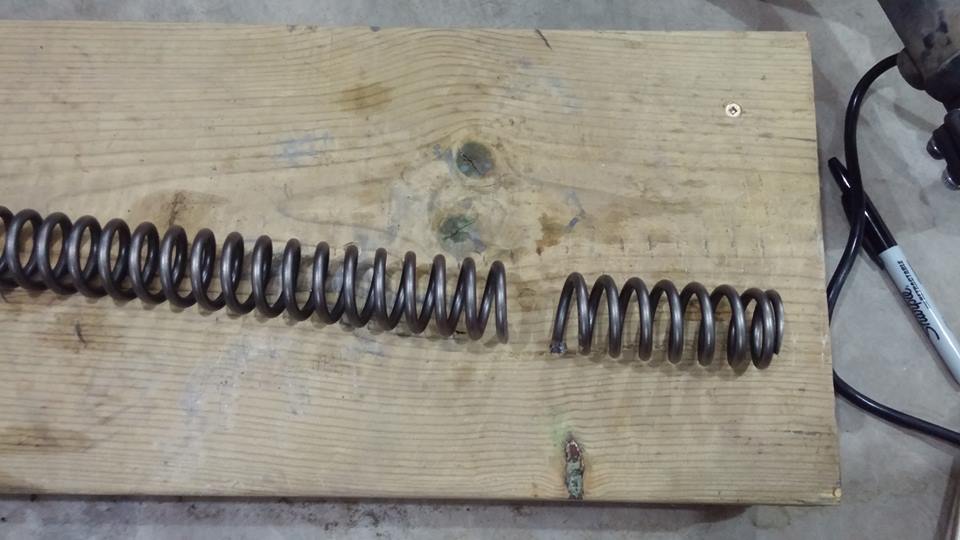
Once that is done cut the spring by the same length as what you made your spacers to then reverse the process.
I actual left my springs a little bit longer intentionally to give me a little bit more preload. I cut 95mm off my springs and my spacers are 102mm. A little variance here or there won’t be the end of the world. But it is VERY important that you DO NOT remove more from the spring than what your spacers are. If you do you will NOT have ANY preload on the springs and they will be lose in the forks. It is MUCH MUCH better to have your springs 5mm longer than the opposite.
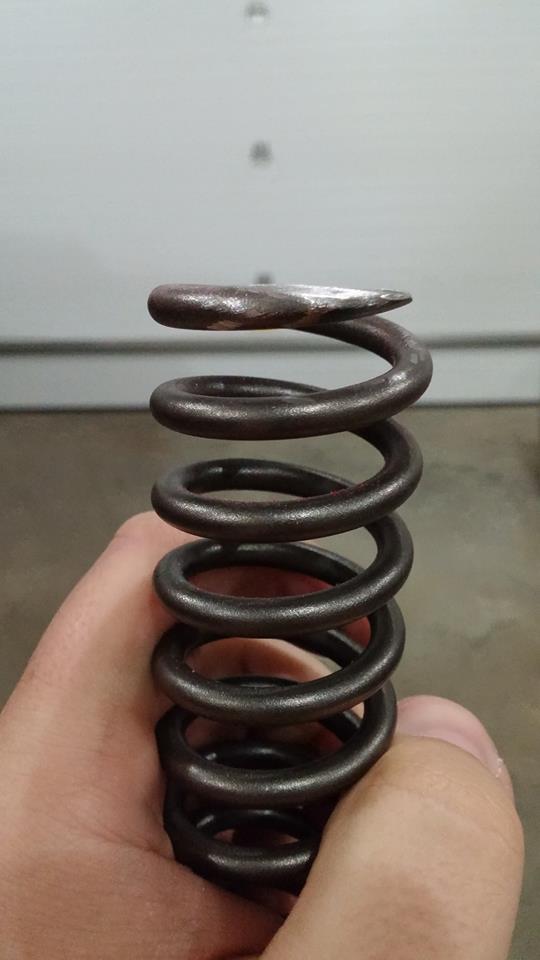
Once the springs are cut you need to finish the end as flat as you can. This spring setup is not ideal but since I will be ordering some custom length springs with the proper spring rate for my weight it will do for now.
A quick note:
One of the side effects of cutting a spring is that it makes it stiffer. In my case the factory springs are way undersprung for my weight so this is a good thing but it is something to keep in mind.
The factory spring in the XR650L is 0.44kg/mm and from the calculations I’ve done once it is cut it will be right around 0.53kg/mm. Perfect for my weight for an enduro setup but might be too stiff for lighter folks. But since I’m setting this up a little more for street use I will be going to 0.65kg/mm.
Alrigthy! I’ve now filled the forks with oil and bled the system properly. I’ve been getting real conflicting information regarding oil level on a shortened fork. Some say put more oil some say put less. I’ve filled them to factory spec of 145mm from the top. I’ll try it out and make adjustments from there.
I got every thing back together and here is the finished product.
So a quick recap. I’ve shortened the forks 4" and I’ve slid the forks up in the triple clap another 1/2" for a total of 4.5" drop in the front.
 CalzoneGolem
> Luc - The Acadian Oppo
CalzoneGolem
> Luc - The Acadian Oppo
07/12/2016 at 13:04 |
|
Beauty, eh?
 DynamicWeight
> Luc - The Acadian Oppo
DynamicWeight
> Luc - The Acadian Oppo
07/12/2016 at 13:06 |
|
Ohhhh, I need to do this on my FZ6. The fork seal is leaking. This gives me inspiration to go ahead with it already, hopefully it’s as easy as yours is.
 bob and john
> Luc - The Acadian Oppo
bob and john
> Luc - The Acadian Oppo
07/12/2016 at 14:14 |
|
Good luck! Tip: find a good suspension guy and ask what weight oil u need. I have 7.5w...but its still to thick for my skinny 150lbs ass.
|
Luc - The Acadian Oppo
> bob and john
07/12/2016 at 14:40 |
|
factory is 7wt I’m gonna bump it up to 10wt to account for the stiffer spring. I’m 250lbs for reference.
 450X_FTW
> Luc - The Acadian Oppo
450X_FTW
> Luc - The Acadian Oppo
07/12/2016 at 15:51 |
|
The beauty of this bike is just how freaking easy it is to work on.
This is why I love my CRF450X (hence my user name). 8, 10, 12 mm wrench/sockets can disassemble 95% of the bike
|
Luc - The Acadian Oppo
> 450X_FTW
07/12/2016 at 15:55 |
|
Damn straight. 15 bucks worth of tools could do a 100% teardown and rebuild. and 90% of those tools come in the factory tool kit if you are really cheap.
I’m really gonna love this bike. it’s like a loyal friend that never lets you down.
|
bob and john
> Luc - The Acadian Oppo
07/12/2016 at 16:43 |
|
If the spring is stiffer you would go lighter. Keep it at 7.5 for the time being. Or mix 1/2 and 1/2
 koczihap
> Luc - The Acadian Oppo
koczihap
> Luc - The Acadian Oppo
01/10/2018 at 07:11 |
|
Hi Luc, Are you satisfied with the result? Did you modofied the rear shock too? If yes, how did you do it? I am also planning to transform my ‘94 XR650L to a street tracker in a cheap way...